
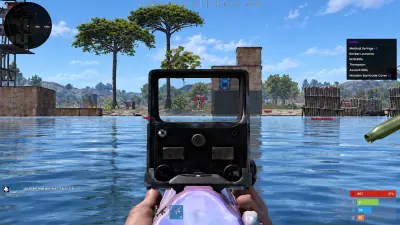
A buyer’s checklist for Windows, five separate purchases, account delivery and patch compatibility.
Blog
Rust setup and feature guides
Understand the menu and the purchase requirements before configuring your overlay.
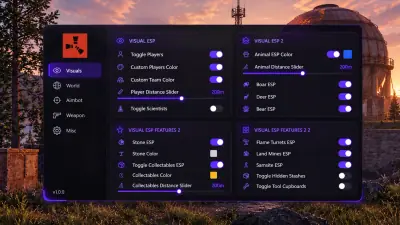
How ore colours, animal switches, base objects and dropped item filters work together without filling the display.
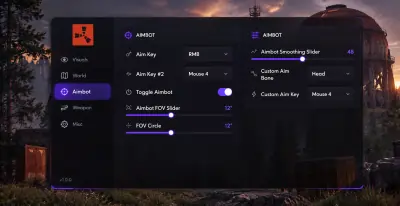
A practical explanation of FOV, smoothing, aim binds and independent pitch/yaw switches.
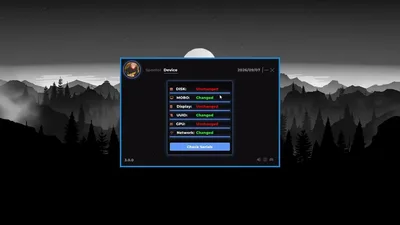
What the separate recovery utility changes, what cleanup includes and which sanctions remain outside its scope.
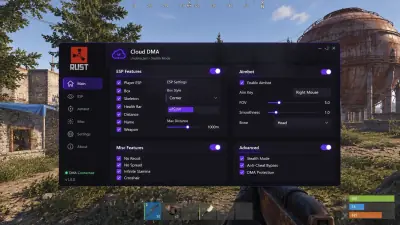
Understand the separate purchases, Windows preparation and account instructions behind the Cloud DMA setup.
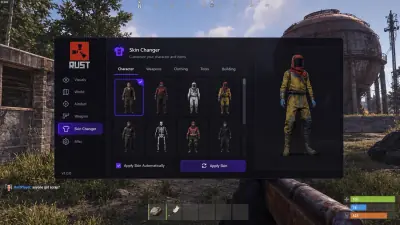
What local cosmetic changes mean for your screen, inventory and purchase decision, with Rust support still unconfirmed.
Separate player and team colours, keep scientists distinct, and choose which equipment fields belong on your display.
Give sulfur, metal and stone distinct colours and keep collectable markers useful on a farming route.
Understand the separate stash and cupboard toggles and the shared controls for six defensive object types.
Separate dropped equipment from held weapons and understand what the weapons only filter leaves out.
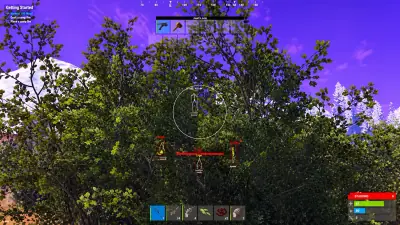
Choose individual animal species and manage vehicle markers with their own colour and distance settings.
Read the movement, lighting, zoom and FOV controls without assuming undocumented behavior or key binds.
Use the documented size and rate controls to keep the overlay readable without inventing performance presets.
Know where keys arrive, how manual review works and what compatibility updates mean for an active subscription.